
Mass Email Campaign Studio
Processing > Mass Email Campaign > Campaign Studio
(Campaign Studio is included with all Pro plans and is available as an add-on for other subscriptions. To add it, email [email protected].)
Campaign Studio is a drag-and-drop email builder inside DonorSnap. Use it for newsletters, fundraising appeals, event invitations, and announcements. Your recipients come from a DataMiner Platinum report, so you’re always emailing the people in your database without exporting an email list to another platform. After the email goes out, Campaign Studio shows you who opened it, who clicked, and who unsubscribed.
Every campaign moves through five steps: Audience, Design, Review, Send, and Results.
Opening Campaign Studio
- Go to Processing > Mass Email Campaign.
- Choose Campaign Studio. It opens in a new browser tab.
If your account doesn’t have a Campaign Studio subscription, you’ll see a welcome screen that explains how to add it.
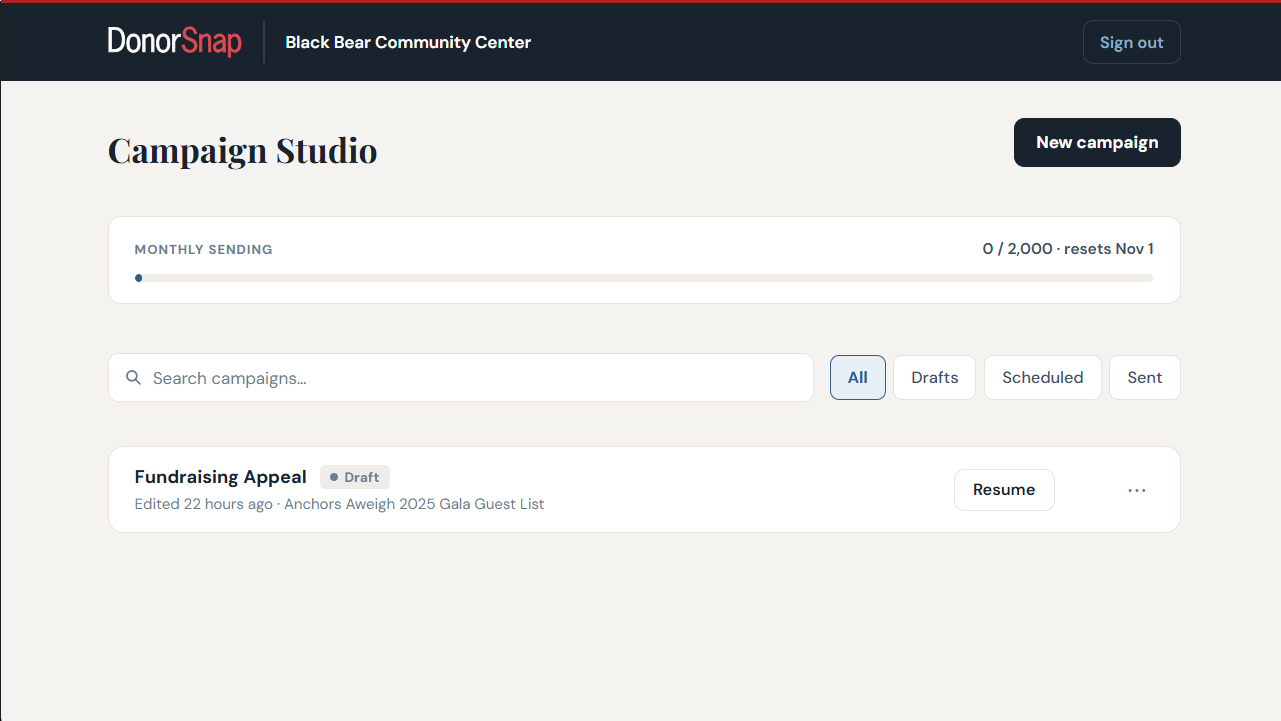
The Campaign Studio home page lists every campaign you’ve created. From here you can:
- Search for a campaign, or filter the list by Drafts, Scheduled, or Sent.
- Click Resume to keep working on a draft.
- Use the three-dot menu next to a campaign to duplicate or delete it. Duplicating is the quickest way to reuse an email you’ve already sent.
The Monthly Sending bar at the top shows how many emails you’ve sent this month, your monthly limit, and the date it resets. Each subscription can send up to 10 times its contact limit per month. For example, a 1,000-contact subscription can send 10,000 emails a month.
Starting a New Campaign
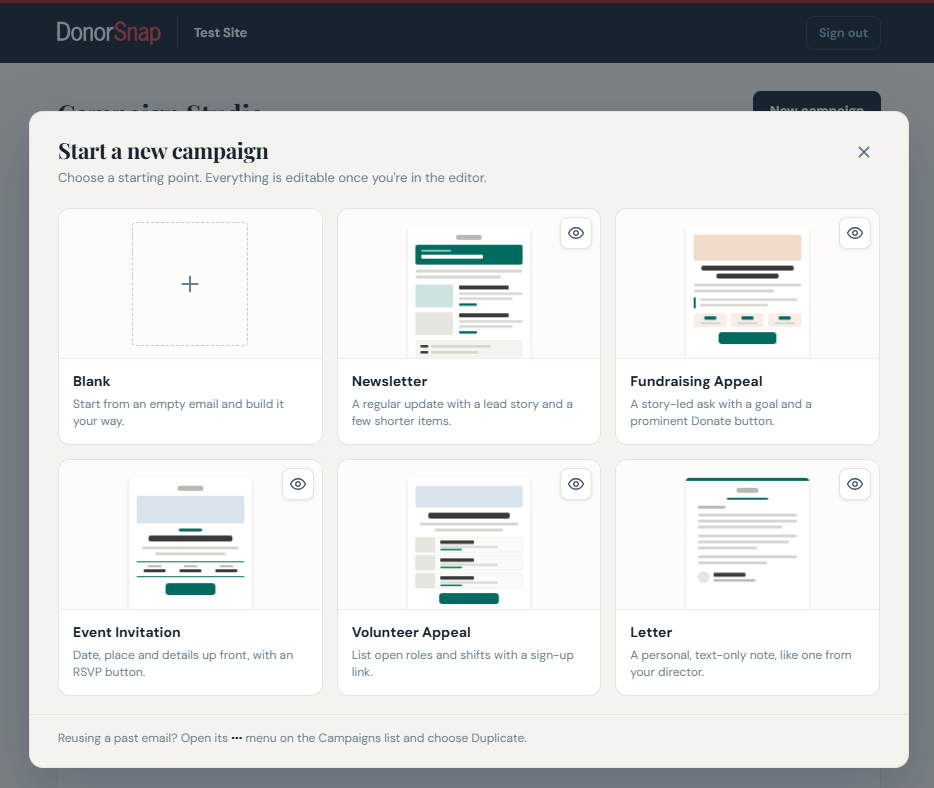
- Click New campaign in the top right.
- Choose Blank to build from scratch, or pick a template such as Newsletter, Fundraising Appeal, or Event Invitation.
- To see a template before you choose it, click the eye icon on its card. Then click Use this template.
Templates give you a ready-made layout with sample text and images. You can change everything in a template once you’re in the editor.
Step 1: Audience
Campaign Studio sends to the contacts in a DataMiner Platinum report. Build the report first under Reports > DataMiner Platinum, including the email fields you want to use and any fields you plan to use as merge fields (such as first name or salutation).
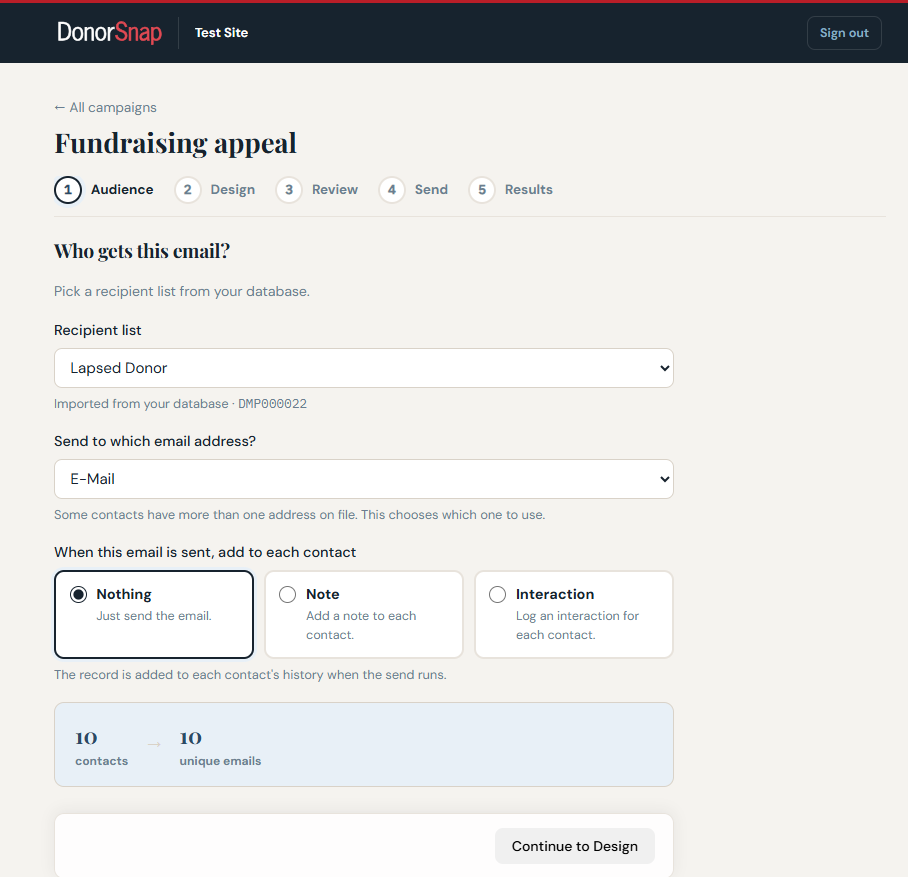
- Under Recipient list, choose your DataMiner Platinum report. If it isn’t listed, build or update it in DonorSnap, then refresh the list.
- Under Send to which email address?, choose Email 1, Email 2, or both. Sending to both is useful for households where two people each have an address on the record.
- Choose what DonorSnap should record on each contact’s record when the email is sent:
- Nothing
- A note – Choose a Note Type and the entire email will be saved in the Notes record.
- An interaction – Choose an interaction type (for example, Email). DonorSnap saves the email’s subject line and send date on every contact who receives it in the Interaction records.
- Check the counts. The screen shows how many contacts are in your report and how many unique email addresses will receive the email after duplicates are removed.
- Click Continue to Design.
Step 2: Design
Message settings
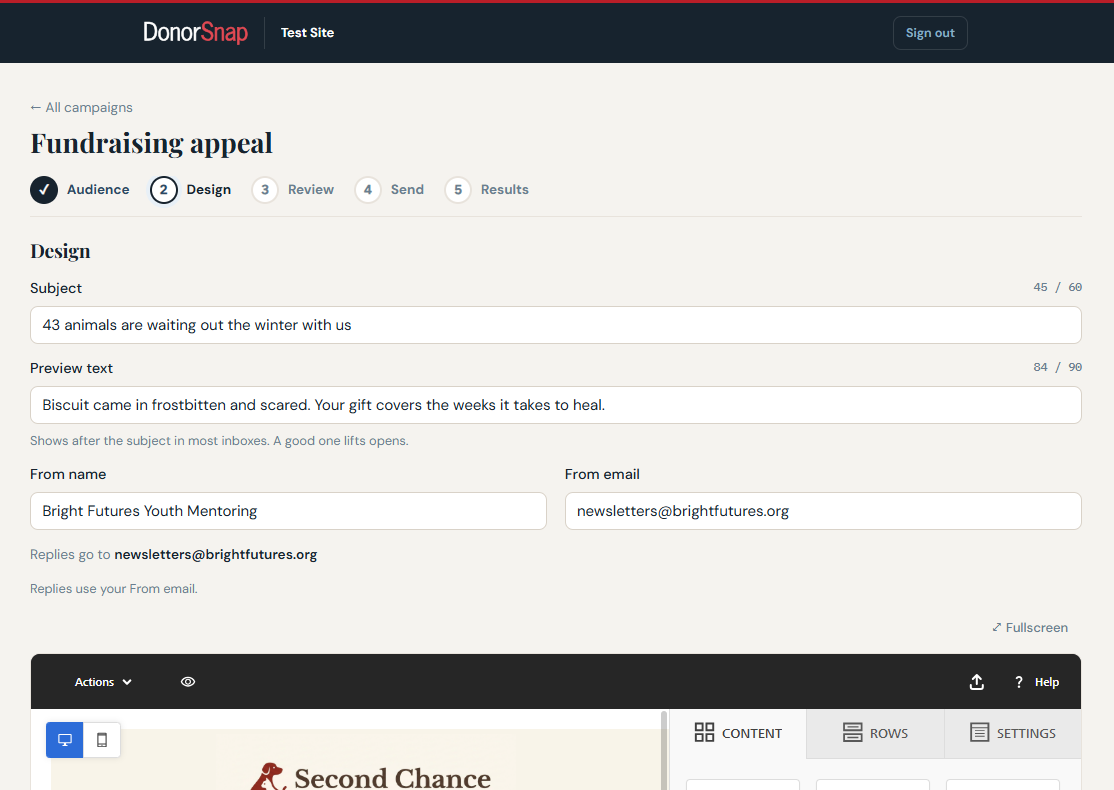
At the top of the Design step, fill in the details recipients see in their inbox:
- Subject line: A counter beside the field shows how many characters you have left.
- Preview text: The short line that appears after the subject in most inboxes and on phones. It’s optional, but we recommend using it. Aim for about 90 characters.
- From name and From email: Your name or your organization’s name, and the address you want replies sent to.
Campaign emails are sent from a DonorSnap system address but show your From name and From email. When a recipient clicks reply, the reply goes to your From email.
Building the email
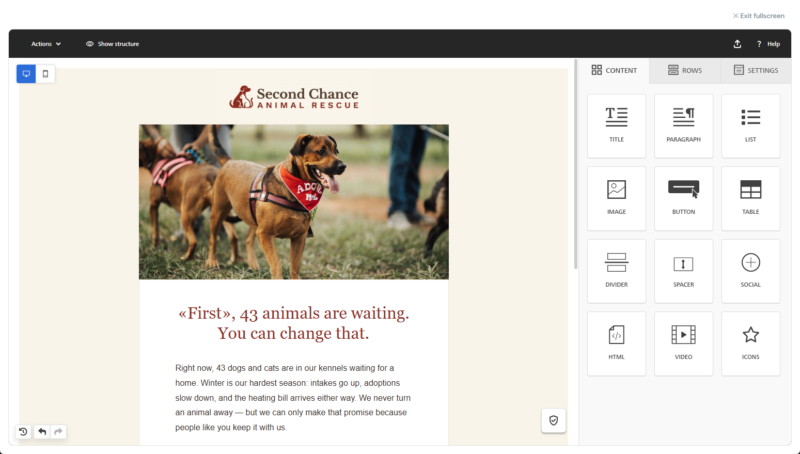
The editor shows your email on the left and your tools on the right. What you see on the left is what your recipients will get.
Add content. Drag a block from the Content tab onto your email. A marker shows where it will land. Choose from the available content blocks to add the type of content you need in your email.
Change the layout. Use the Rows tab to add sections with two or three columns. Use the Settings tab to change the email’s background color, background image, and width.
Edit anything. Click any element in the email, and its options appear on the right. For text, a formatting toolbar also appears above the text. When you’re done with an element, click the X in the top right of the options panel to get back to the content blocks.
Personalize it. Insert merge fields, such as «First», to fill in each recipient’s information from your DataMiner Platinum report.
Your work saves automatically as you go.
IMPORTANT: Videos don’t play inside an email. A Video block shows a large thumbnail with a play button, and clicking it opens the video on YouTube in a new window. The tool manages this for you, so all you need is a YouTube link, and it will generate the image for you.
Images and the media library
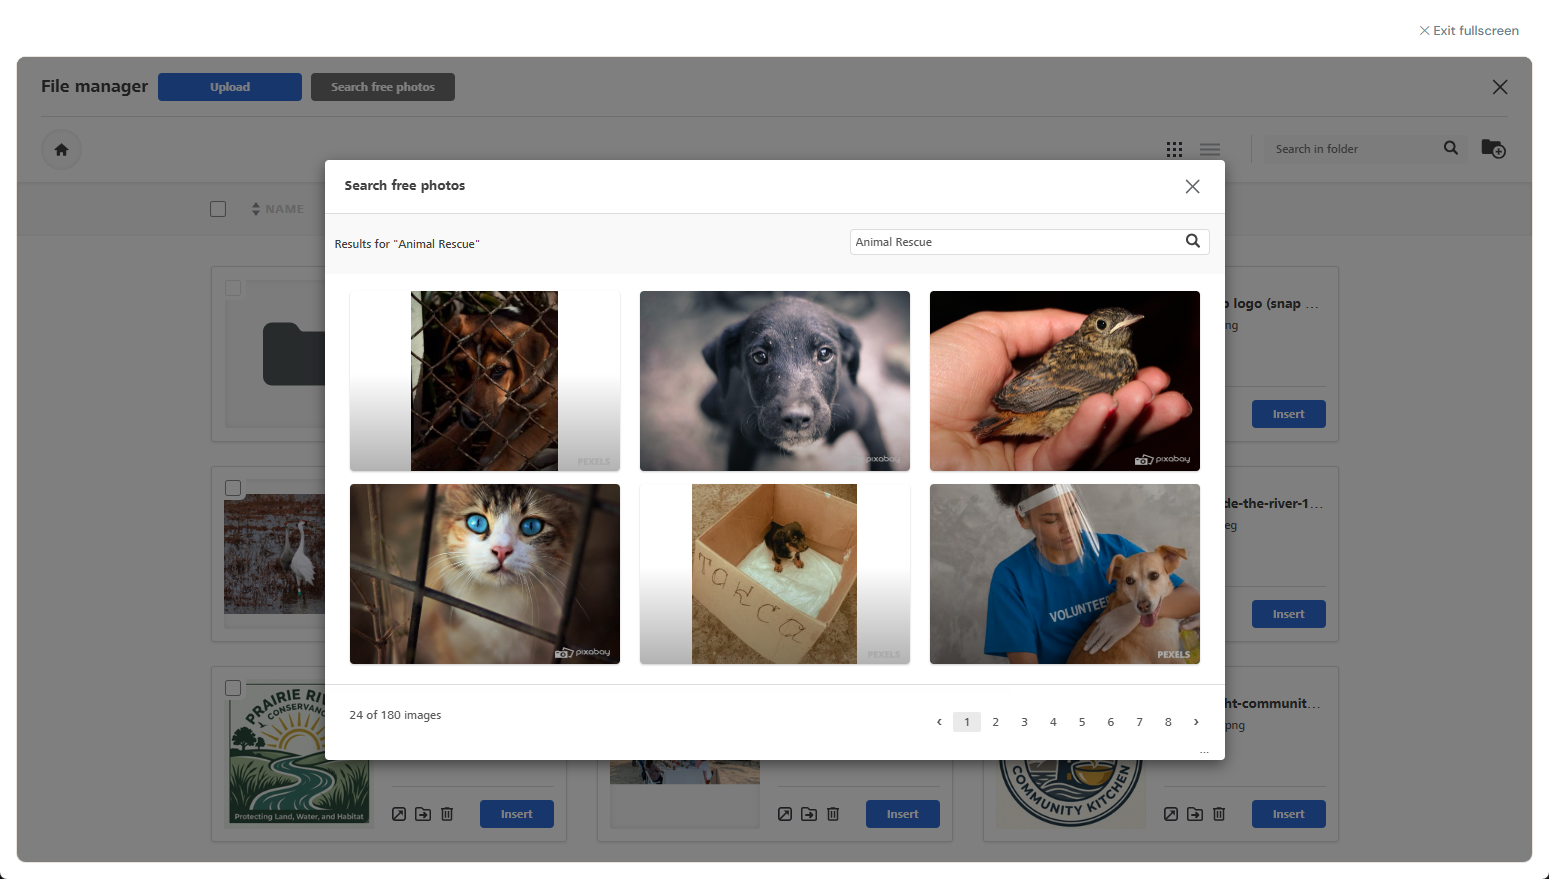
- Click an image in your email, then click Replace in the options on the right.
- Your media library opens. Choose an image you’ve already uploaded, or click Upload to add one from your computer.
- To use a stock photo, click Search free photos and search the built-in library of more than half a million images and illustrations.
Everything you upload stays in the library for future campaigns. If your organization also uses EventSnap, the same library is shared between DonorSnap and EventSnap.
Desktop and mobile views
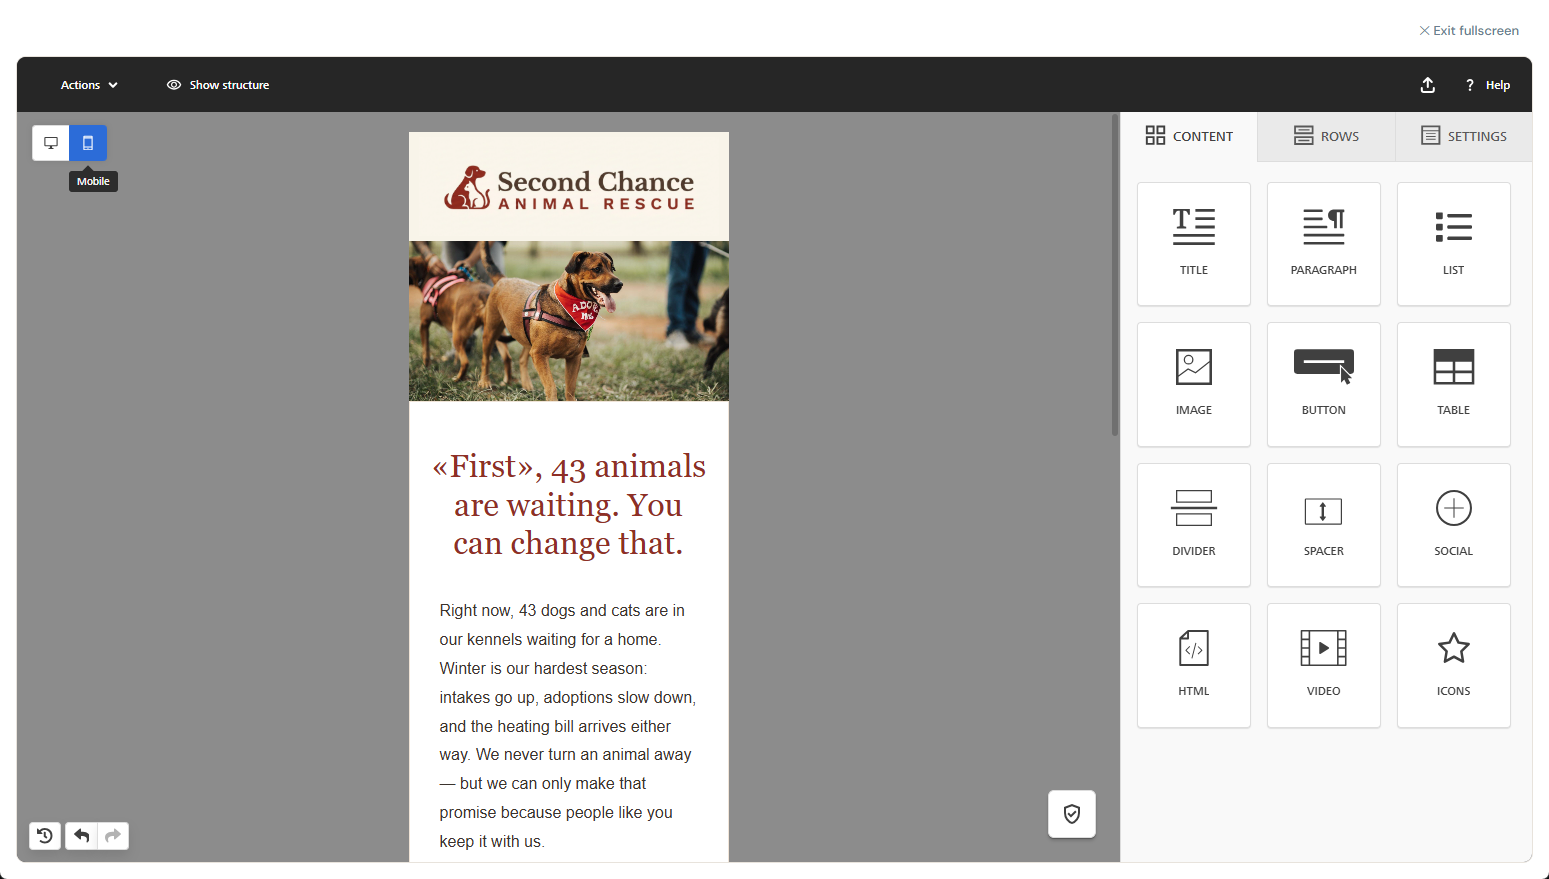
Use the desktop and phone icons in the top left of the editor to switch views. You can edit in either view, and some settings on the right are different depending on which view you’re in. That lets you adjust spacing, font sizes, or hide elements just for phones.
Quality check
Click the shield icon in the lower right of the email to run a quality check. It suggests improvements such as adding alt text to images, shrinking oversized images so they load faster, and increasing color contrast. These are recommendations, not requirements, so your email can still send without them.
When your email is ready, click Continue to Review.
Step 3: Review
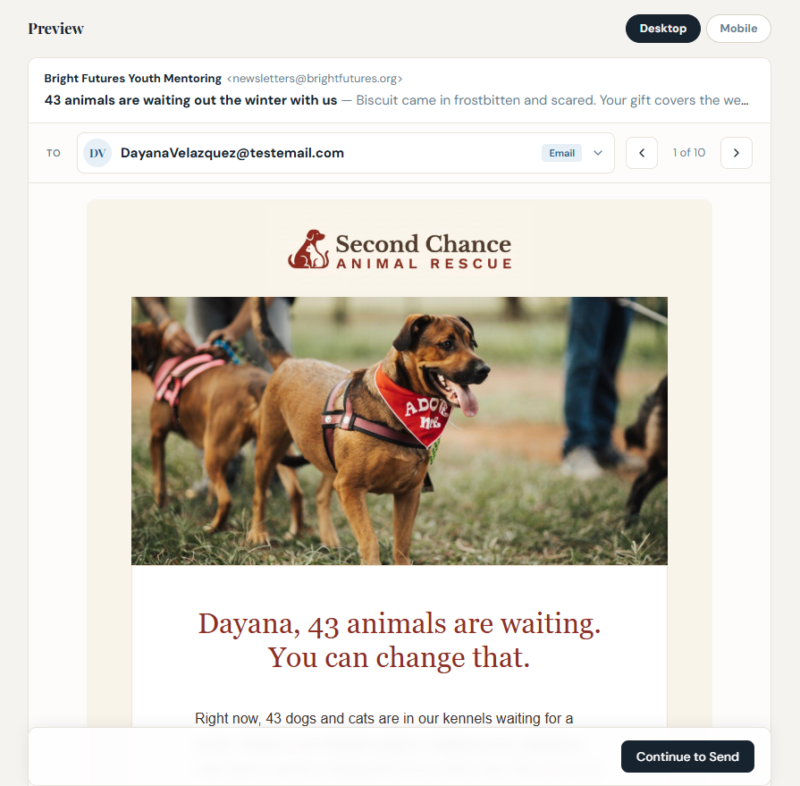
The Review step shows a summary of what’s about to happen before anything is sent:
- How many contacts were in your report, how many duplicates were removed, and how many people will receive the email
- A preview of your email
- Helpful tips for your campaign
- Test email: Send a copy to yourself or your team. Scroll all the way to the bottom of the page to enter your email address for the test copy.
Test, test, test! We recommend sending tests to at least a Gmail and an Outlook address before every campaign. Check the formatting from both a computer and a phone, and use the tests to read through your content one more time. Click every link in your email to make sure they are going to the right place.
When everything looks right, click Continue to Send.
Step 4: Send
Choose when your email goes out:
- Send ASAP: Sending begins in 10 minutes. You can cancel during that time.
- Schedule for later: Pick a date and time. You can cancel any time before it sends.
Click the button at the bottom of the page to send or schedule the campaign.
IMPORTANT: A scheduled campaign is locked. To make changes, cancel the scheduled send, edit the email in the Design step, and schedule it again.
[Screenshot coming soon: Send step with Send ASAP and Schedule for later]
Step 5: Results
Once a campaign has sent, clicking it on the Campaign Studio home page takes you straight to Results.
- The top of the page shows how many emails were delivered, opened, and clicked, and how many people unsubscribed.
- Below that, you’ll see bounced and dropped emails. Click See Who next to either count to list those contacts.
- Each recipient’s individual activity is listed at the bottom of the page.
- Plain-language tips flag anything that needs attention, such as a high bounce rate, with suggestions for your next campaign.
- You can export the results to Excel.
[Screenshot coming soon: Results tab showing delivered, opened, clicked, and unsubscribed counts]
Frequently Asked Questions
Is Campaign Studio included in my DonorSnap subscription? It’s included with all Pro plans and is available as an add-on for legacy subscriptions. Email [email protected] to add it.
How many emails can I send per month? Up to 10 times your subscription’s contact limit. The Monthly Sending bar on the Campaign Studio home page shows your usage and the date it resets.
Do I need a DataMiner Platinum report to send a campaign? Yes. Every recipient list in Campaign Studio comes from a report built under Reports > DataMiner Platinum.
Can I send to both email addresses on a contact’s record? Yes. On the Audience step, choose both Email 1 and Email 2.
Will the campaign show up on my contacts’ records? Yes, if you choose it. On the Audience step, choose to log a note or an interaction, and DonorSnap saves the subject line and send date on each recipient’s record. Notes store the full email.
Where do replies to my campaign go? To the From email you enter on the Design step.
Can I edit a campaign after I schedule it? Not while it’s scheduled. Cancel the scheduled send, make your changes, and schedule it again.
Can I reuse an email I’ve already sent? Yes. Use the three-dot menu next to any campaign on the Campaign Studio home page and choose Duplicate.
What does “dropped” mean in my results? A dropped contact was skipped on purpose because an earlier email to that address bounced or the person unsubscribed.
Related Pages:
Mass Email Campaign Studio Training Webinar
DataMiner Platinum 101: Introduction